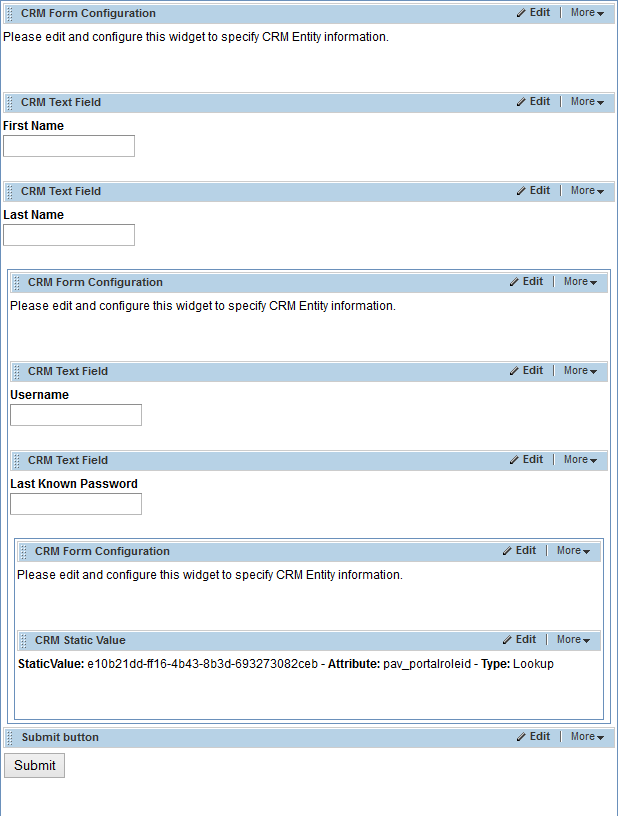
In The Portal Connector you are capable of creating a user through a manually created form. The form will create a record in
Contacts for the user while also giving them a username and password for use on Sitefinity and your website. Finally, the form will assign a Portal User Role for the newly created user. Please note that you may add any fields - custom or otherwise - that you would like within the
Contact part of the form. The two lower level parts of the form may not have any additional fields added to them. In order to accomplish this, you must do the following:
- Create a blank form and set the CRM Form Configuration to Contact. In addition to that, you may also drag the desired form elements for the Contact entity into this part of the form such as first name, last name, address, and date of birth.

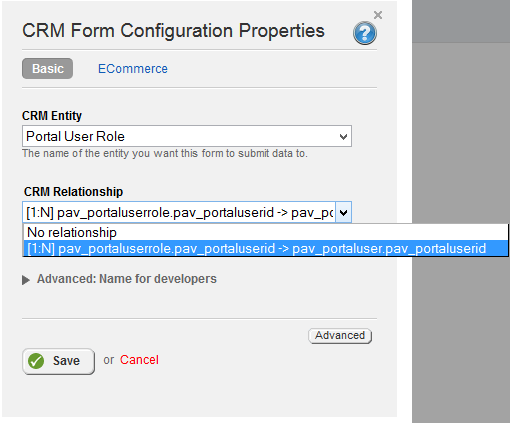
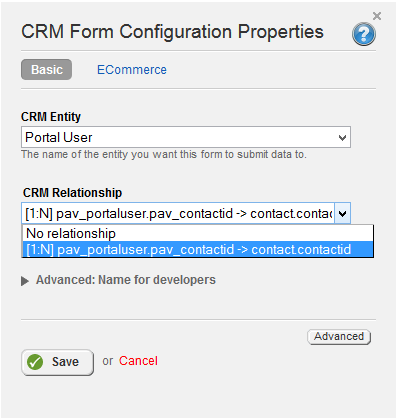
- Drag another CRM Form Layout inside of the current form as well as another CRM Form Configuration. Set this configuration to Portal User and set the CRM relationship field to the one pictured below. Please note that this section of the form will contain the username and password for the newly created user. If the CRM relationship option does not appear initially, save the widget and reopen the properties prompt for it to appear.
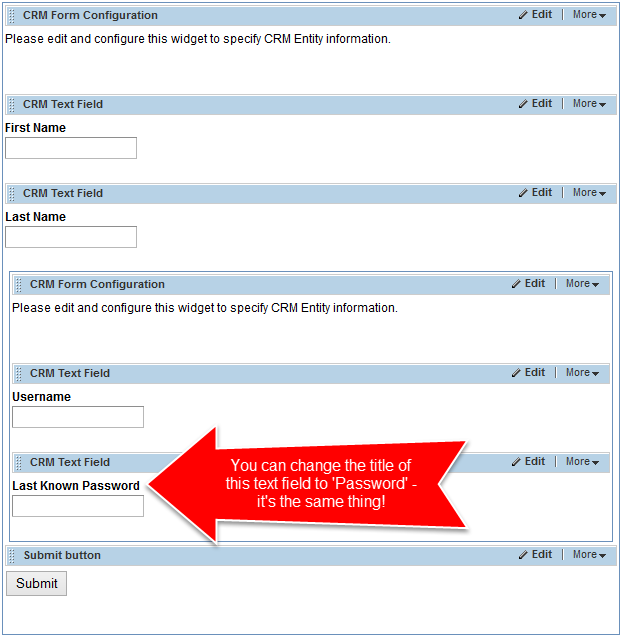
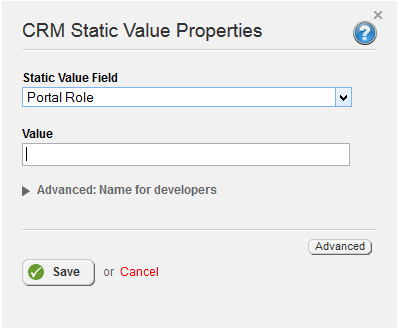
- Finally, place another CRM Form Layout within the second one that you have placed and drag another CRM Form Configuration widget into the layout. Set the configuration widget to Portal User Roles and set the CRM Relationship option to the one pictured below. Next, in order to assign a desired portal user role you must drag a CRM Static Optionwidget into the form and set it to target Portal Role (It will appear as pav_portalroleid). Once you have done that, the value of the static option widget should be set to the GUID of the desired portal role.
