Enable the Advanced Cache Invalidation Plugin (Optional)
In TPC 6.0 the functionality to cache form and widget data was added. If this functionality is being utilized, you will need to enable the Advanced Cache Invalidation plugin for the feature to function correctly. If you are not using caching on form and data widgets (CacheData advanced property), this plugin is not necessary. In order to enable this widget you will need to download a tool to modify the plugins on a CRM instance. The standard options are the Plugin Registration tool within XrmToolbox, or the Plugin Registration tool within the Microsoft Dynamics XRM SDK. For this documentation we will be using XrmToolbox.
- Download and install XrmToolbox.
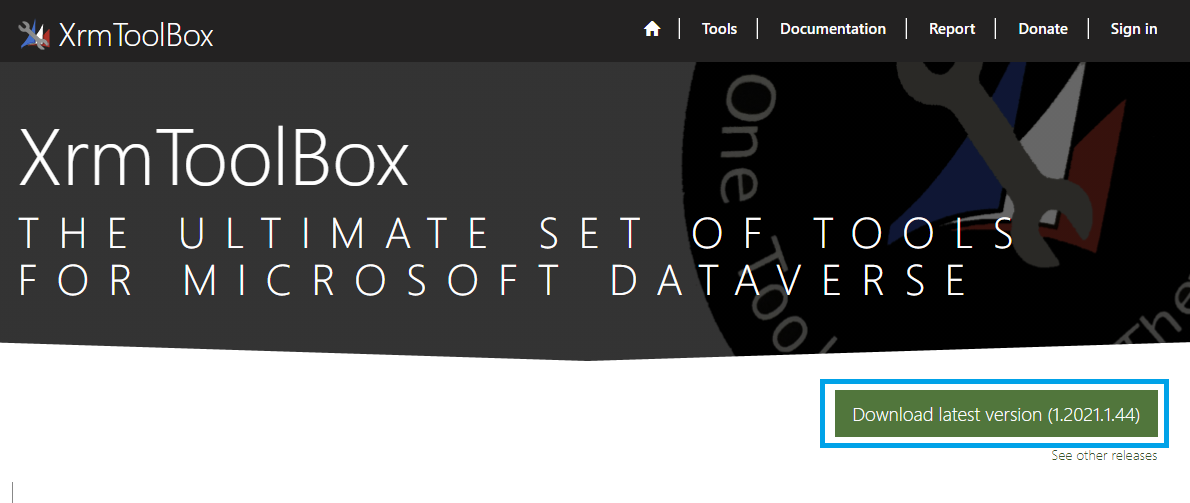
- Run XrmToolbox.exe as an Administrator.
- Once you launch the program you should see a window called XrmToolbox Tool Library. Install the Plugin Registration Tool.
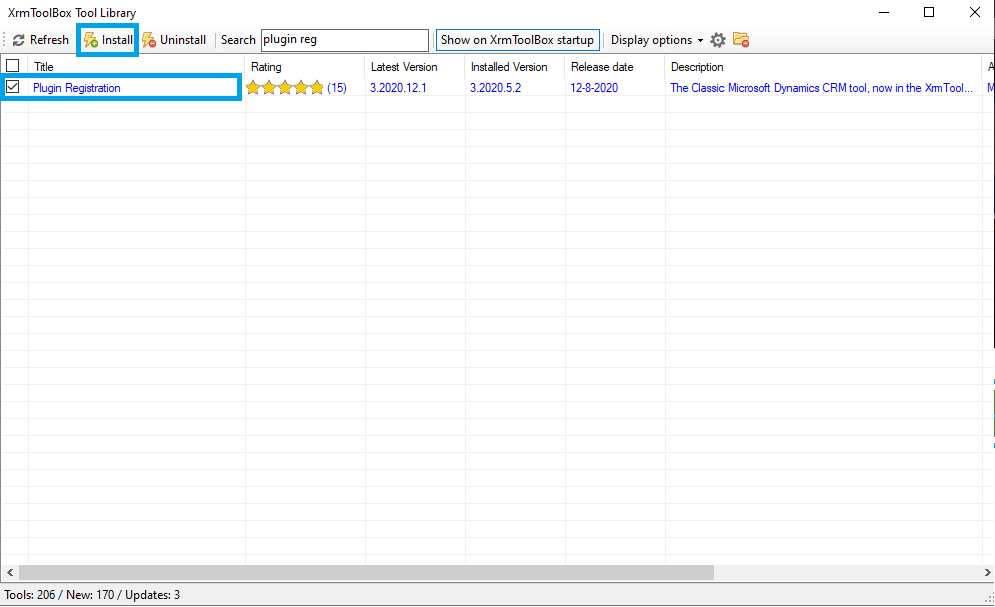
- After you install the Plugin Registration Tool, XrmToolbox will restart. Once you are back in the application, exit the Tool Library window.
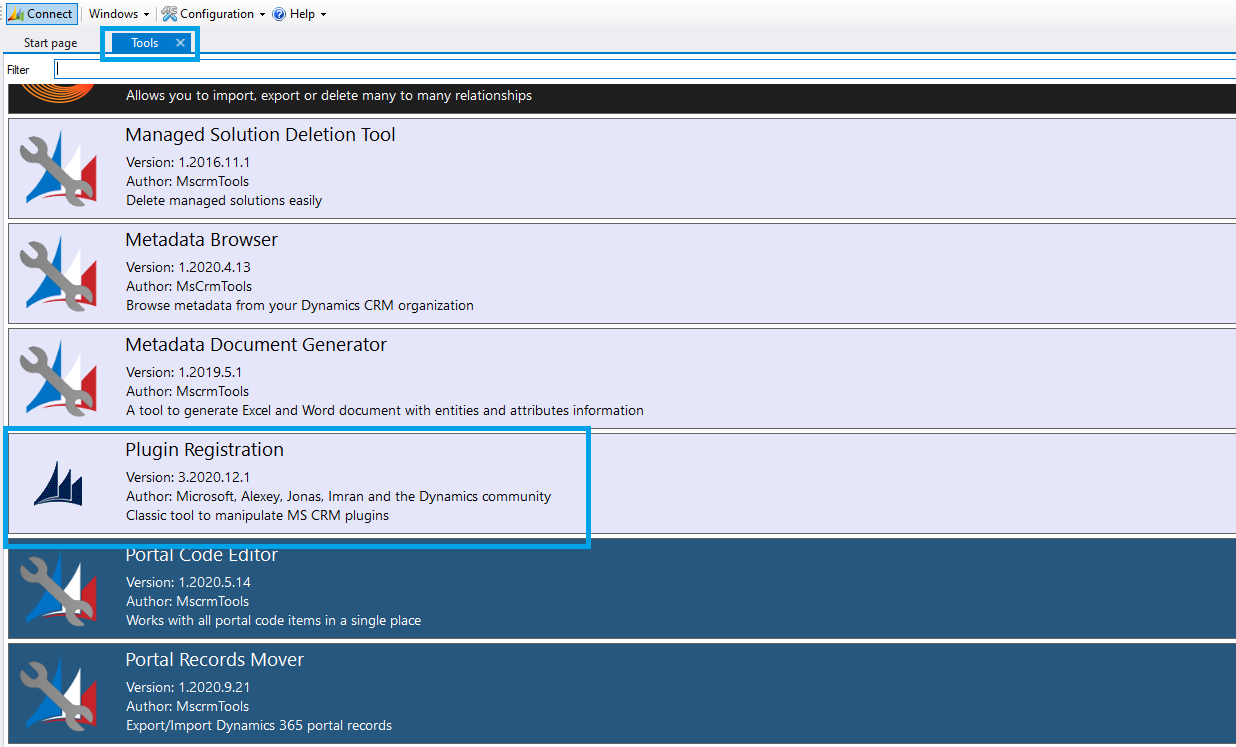
- Select the tab called “Tools.” Find the Plugin Registration Tool in the list of installed Tools and double click it. You will be prompted to connect to an organization, click “Yes.”
- Once you are in the connection window, click “Create Connection” if you have not already configured a connection or double click an existing connection. If you are creating a connection for the first time, you will need to select on the options depending on the type of CRM Instance and preferred connection method.
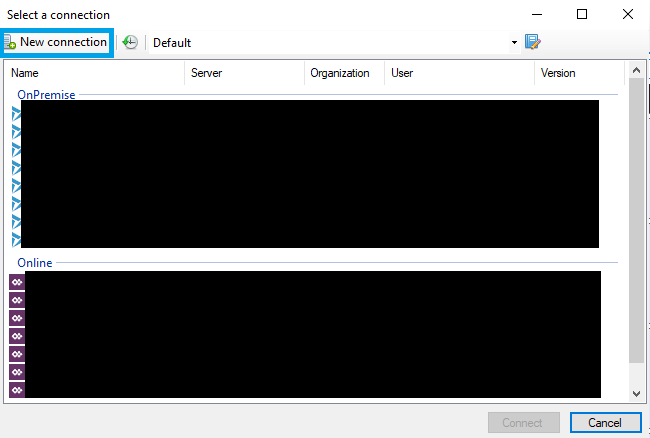
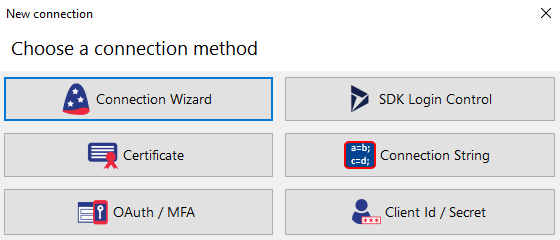
- Once you have successfully configured a connection. Click “Connect.”
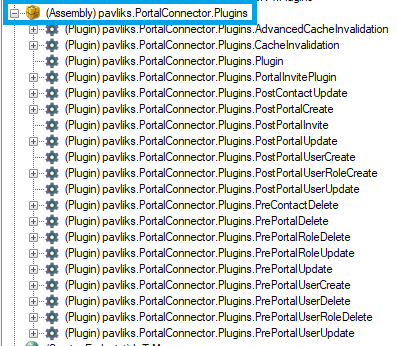
- Scroll down and find (Assembly) pavliks.PortalConnector.Plugins, expand the dropdown so you can see all of the installed plugins.
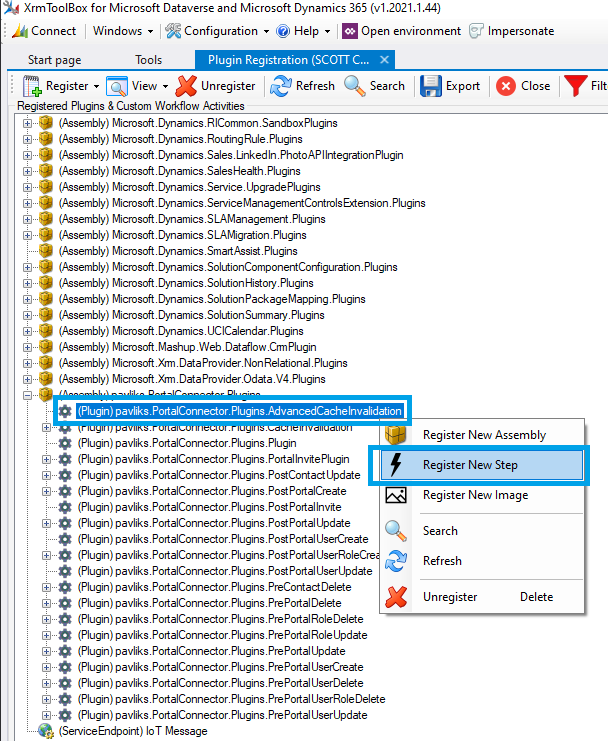
- Right click on (Plugin) pavliks.PortalConnector.Plugins.AdvancedCacheInvalidation and click “Register New Step”.
- Register the following new step on Update of any Entity, and then click “Register New Step” to complete the registration.
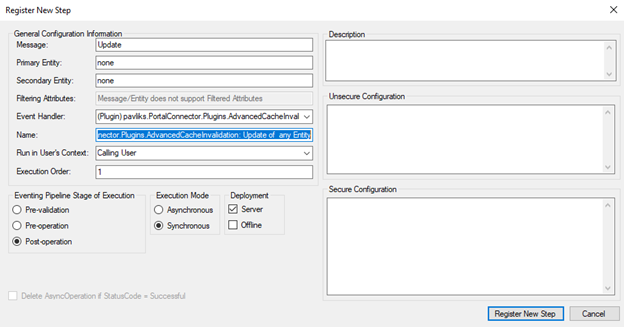
Message: Update
Primary Entity: none
Secondary Entity: none
Event Hander: (Plugin) pavliks.PortalConnector.Plugins.AdvancedCacheInvalidation
Name: pavliks.PortalConnector.Plugins.AdvancedCacheInvalidation: Update of any Entity
Run in User's Context: Calling User
Execution Order: 1
Eventing Pipeline Stage of Execution: Post-operation
Execution Mode: Synchronous
Deployment: Server
- Repeat the previous step for Delete of any Entity and then click “Register New Step” to complete the registration.
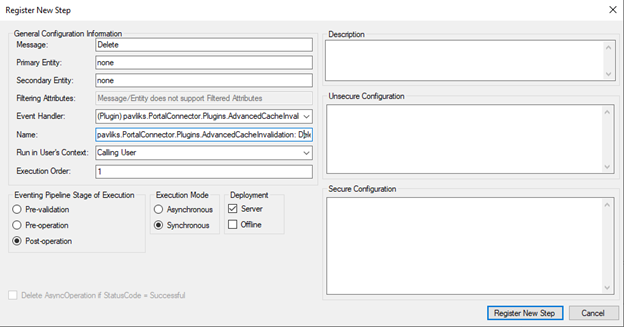
Message: Delete
Primary Entity: none
Secondary Entity: none
Event Hander: (Plugin) pavliks.PortalConnector.Plugins.AdvancedCacheInvalidation
Name: pavliks.PortalConnector.Plugins.AdvancedCacheInvalidation: Delete of any Entity
Run in User's Context: Calling User
Execution Order: 1
Eventing Pipeline Stage of Execution: Post-operation
Execution Mode: Synchronous
Deployment: Server
- You have now registered both required plugin steps to Invalidate the Crm Data Cache on the Portal website. You should see the plugin steps registered under the Plugin.
- Finally, go to your Portal record and select Enable Cache Invalidation option.

Note: If you ever decide you don’t need the cache invalidation feature, you can disable these new plugin steps in XrmToolbox by right clicking the plugin step and selecting “Disable”.