Design Surface
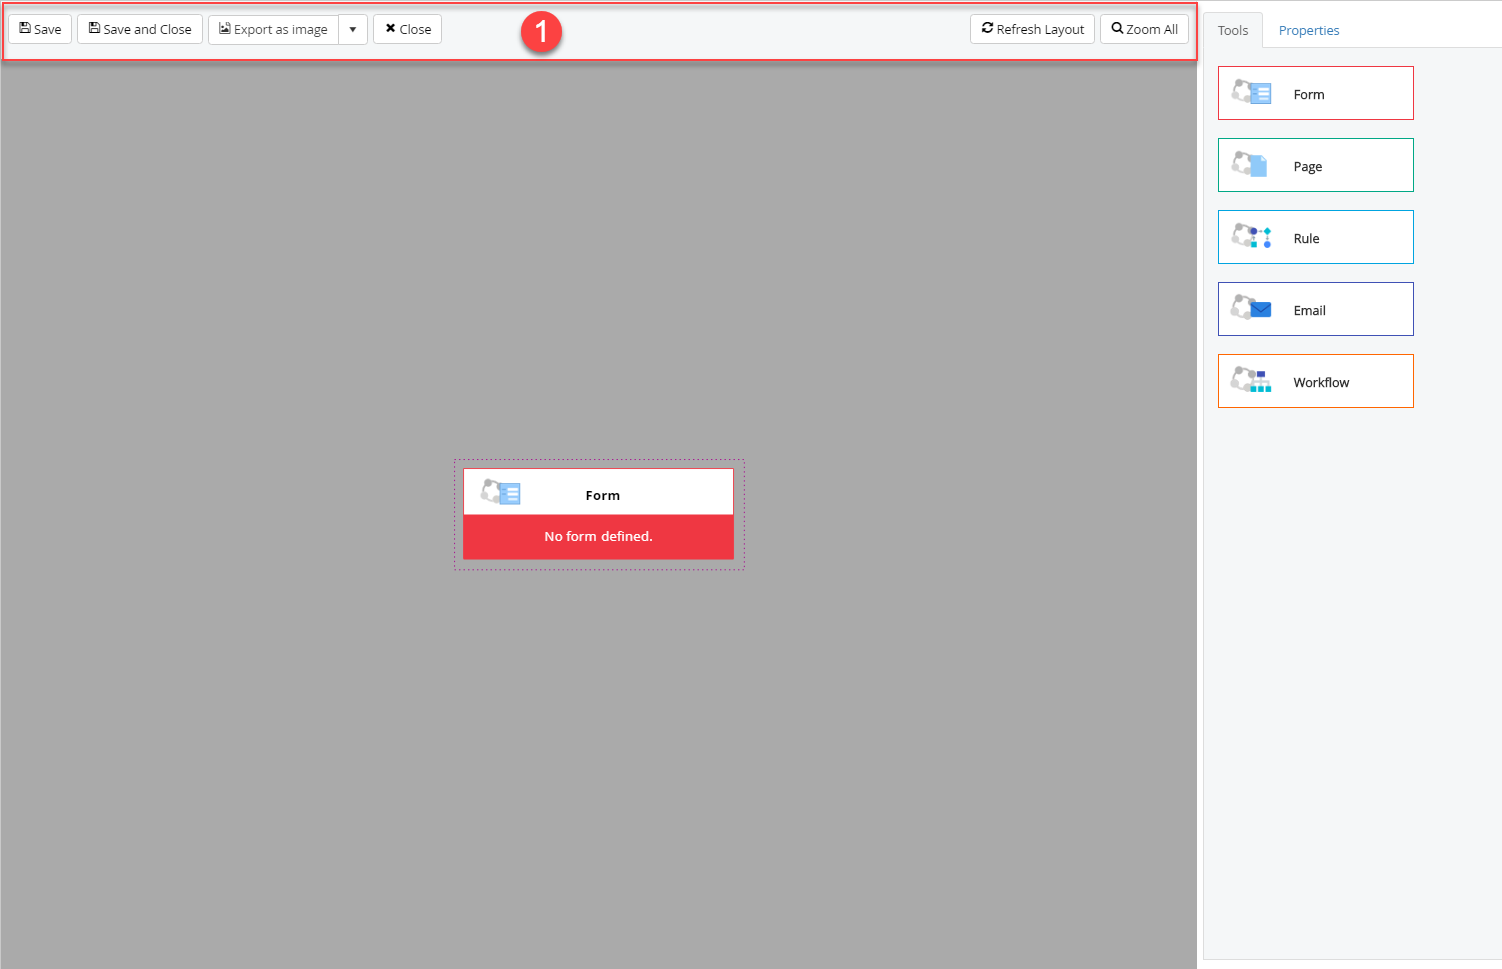
The Form Flow design surface is the interface you use to design your flow. The design surface has several buttons across the top and a tab set on the right hand side that contains a Tools tab and when a node is selected, a Properties tab.
Buttons
Across the top of the design surface, you will find the following buttons:
- Save - This will save your changes to the widget designer. You still need to save the Widget designer and publish the page to fully save your work.
- Save and Close - Will save as noted above then close the Form Flow design surface. You still need to save the Widget designer and publish the page to fully save your work.
- Export
- as Image - This is a split button that will export the design surface to a PNG file.
- as PDF - Clicking the down arrow will expose this button that will export the design surface to a PDF file.
- Close - Closes the design surface. You will be prompted that you may lose unsaved changes.
- Refresh Layout - In the case where the nodes on the design surface become too tangled up to be usable, this button will re-layout the nodes to their default layout. This should uncross and arrange anything out of place.
- Zoom All - Will zoom the design surface so all nodes are visible.
Tabs
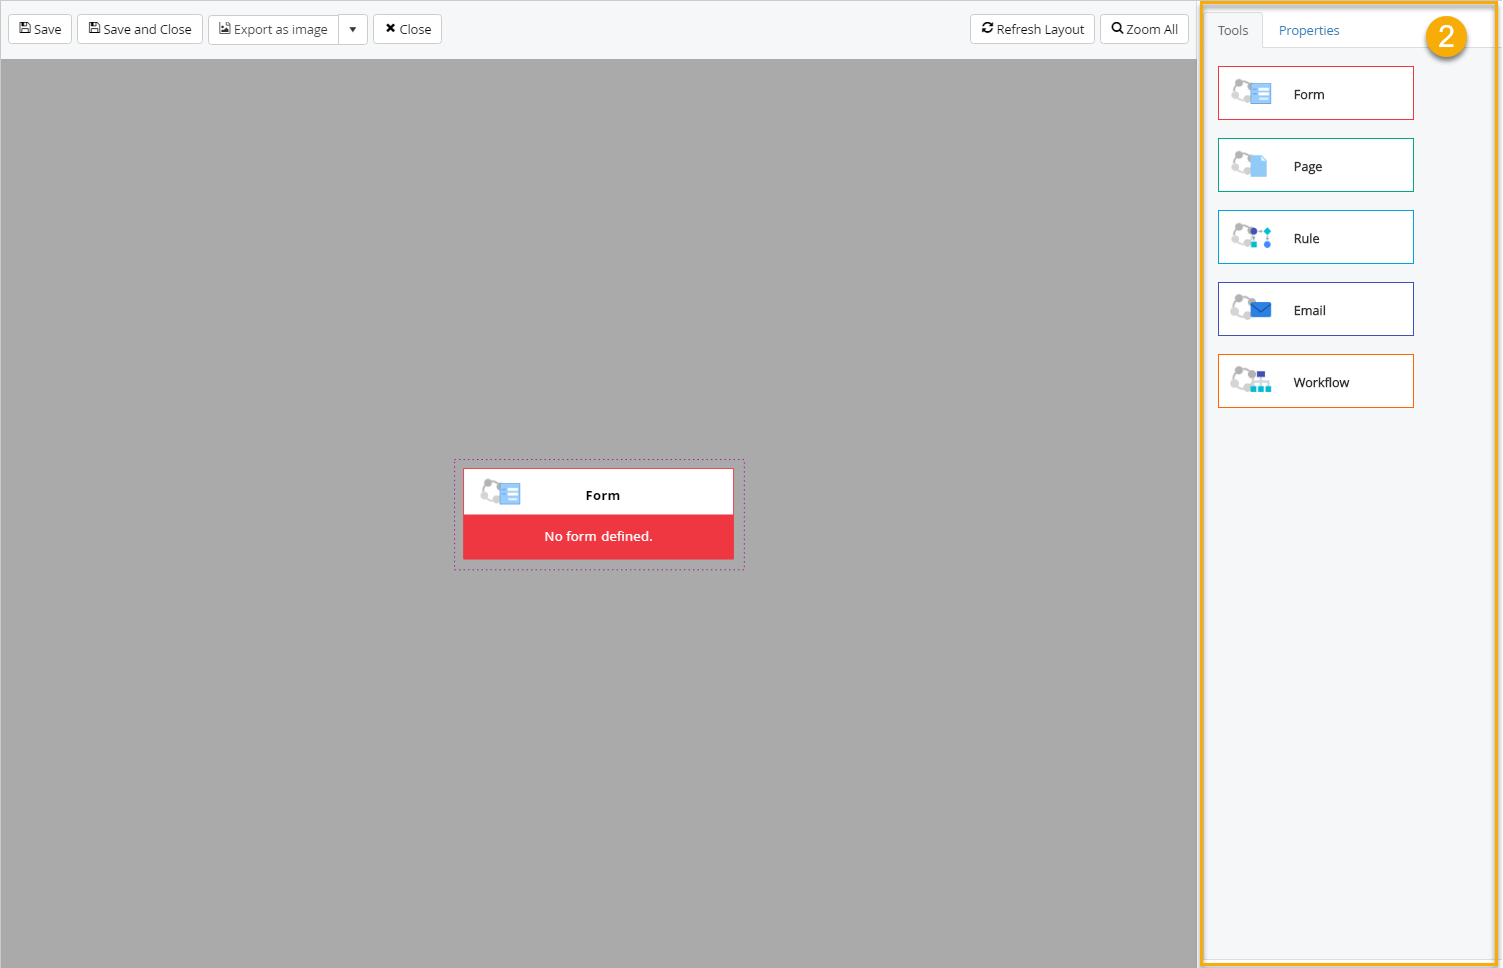
On the right side of the design surface, there is a set of tabs. By default, only the Tools tab is visible. Selecting a node will expose a second tab called Properties.
Tools
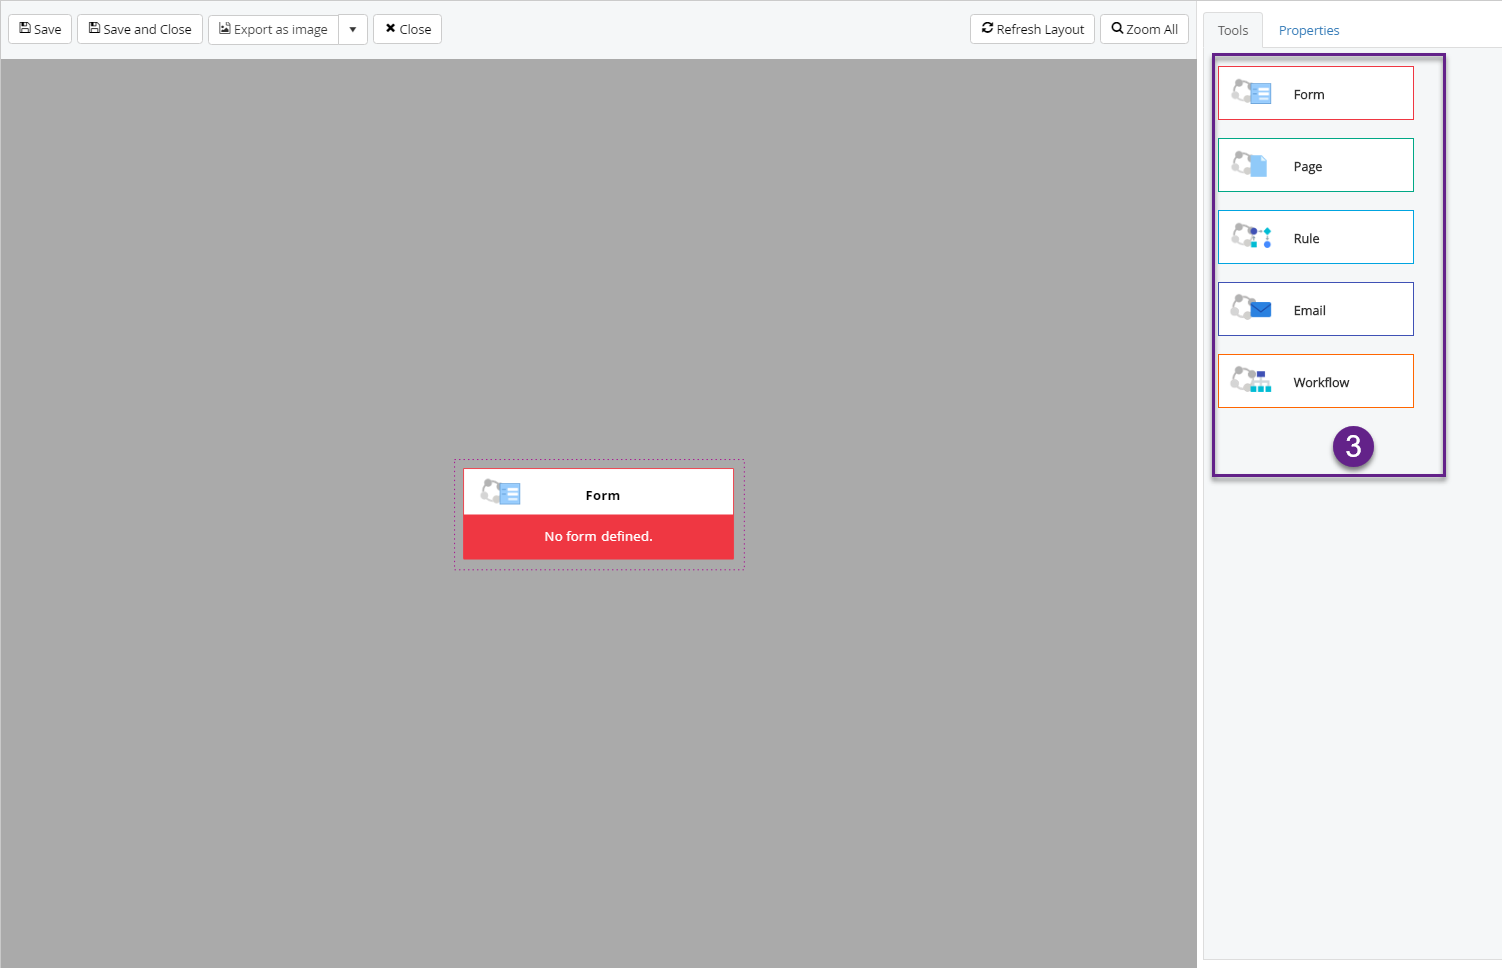
The tools tab contains several tools you can drag and drop on to other nodes on the flow.
- Form - This node will present a form to the end user to fill out. This is the node type of the root node that is on the flow by default. It cannot be removed as all Form Flows must start with a form.
- Page - This node will present the user with a page. depending on how the previous form node is configured, some or all created Ids as well as other properties may be present in the query string.
- Rule - This node will take the user down one of 2 paths in the flow based on the rule configured. All rules once processed will either be True or False.
- Email - This node will use the configured mail profile to send an email. This is done as a scheduled task to no delay is experienced by the end user.
- Workflow - This node will execute a CRM workflow with the entity and the record created or updated in the previous form node. It can be configured to either execute synchronously where the user must wait for completion or asynchronously as a scheduled task.
Properties
When you click on a node, the Properties tab will be shown and selected. In it you will find options to configure the selected node. Each node type has its own set of properties to set:
Form
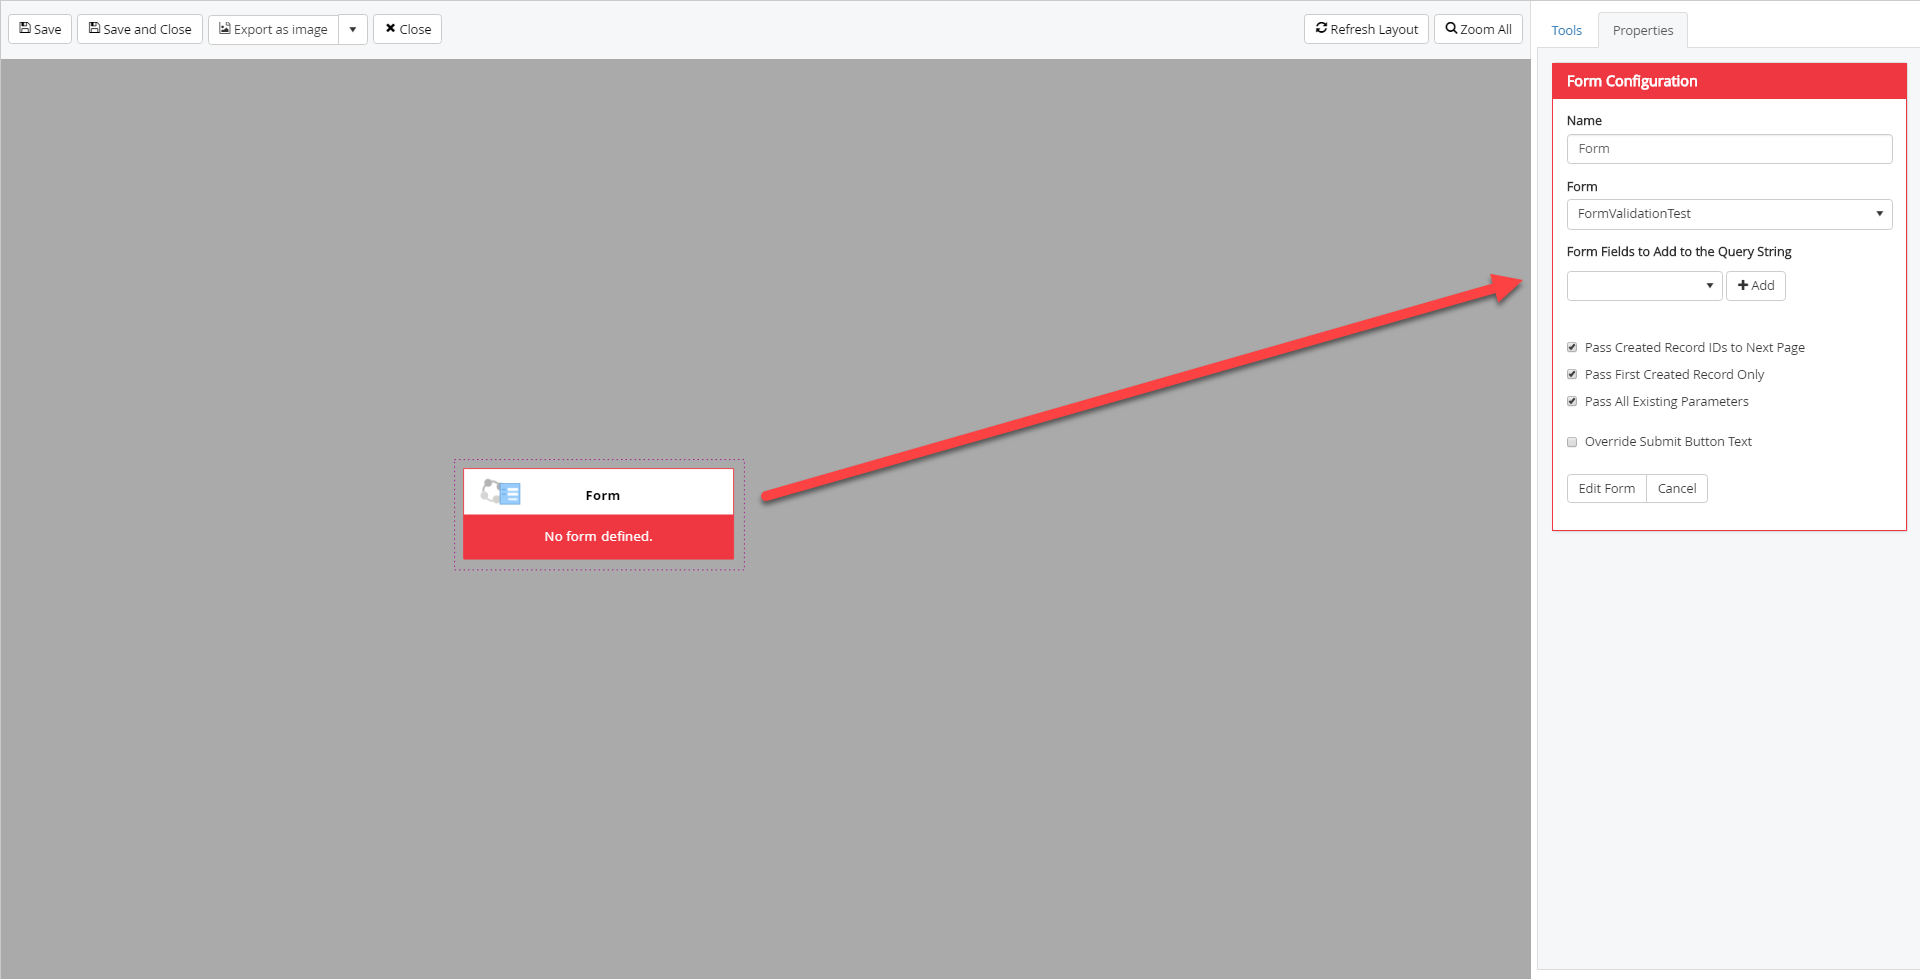
Form nodes are used to present users with a form to fill out. Each form node configures a single form that has been previously created.
- Name - A friendly name to display on the node. Defaults to "Form"
- Form - The form that will be used for this node.
- Form Fields to Add to the Query String - This dropdown contains a list of the fields in the selected form. Used to specify any fields that you need their value to be passed to the next node. Click the add button to add the selected field to the list. Click the delete button to remove it.
- Pass Created Record IDs to Next Page- Specifies to the form processor that you want the created record ids to be passed to the next node.
- Pass First Created Record Only - Specifies whether to pass the first created record id to the next node or all created record ids.
- Pass All Existing Parameters - Specifies whether to pass existing query string parameters on to the next node.
- Query String Values to Pass to Next Page - Allows you to specify any query string properties that exist to pass to the next node. Only visible when "Pass All Existing Parameters" is unchecked.
- Override Submit Button Text - Specifies that you want to change the text on the submit button.
- Submit Button Text - The text to put on the submit button.
- Submit Button Classes - The CSS class to apply to the submit button.
- Show Back Button - Specifies that you want the back button to be shown on the form. Not available on the root node.
- Override Back Button Text - Specifies that you want to change the text on the back button.
- Previous Button Text - The text to put on the back button.
- Previous Button Classes - The CSS class to apply to the back button.
- Edit Form - This button will open the selected form in another browser tab for editing.
Page
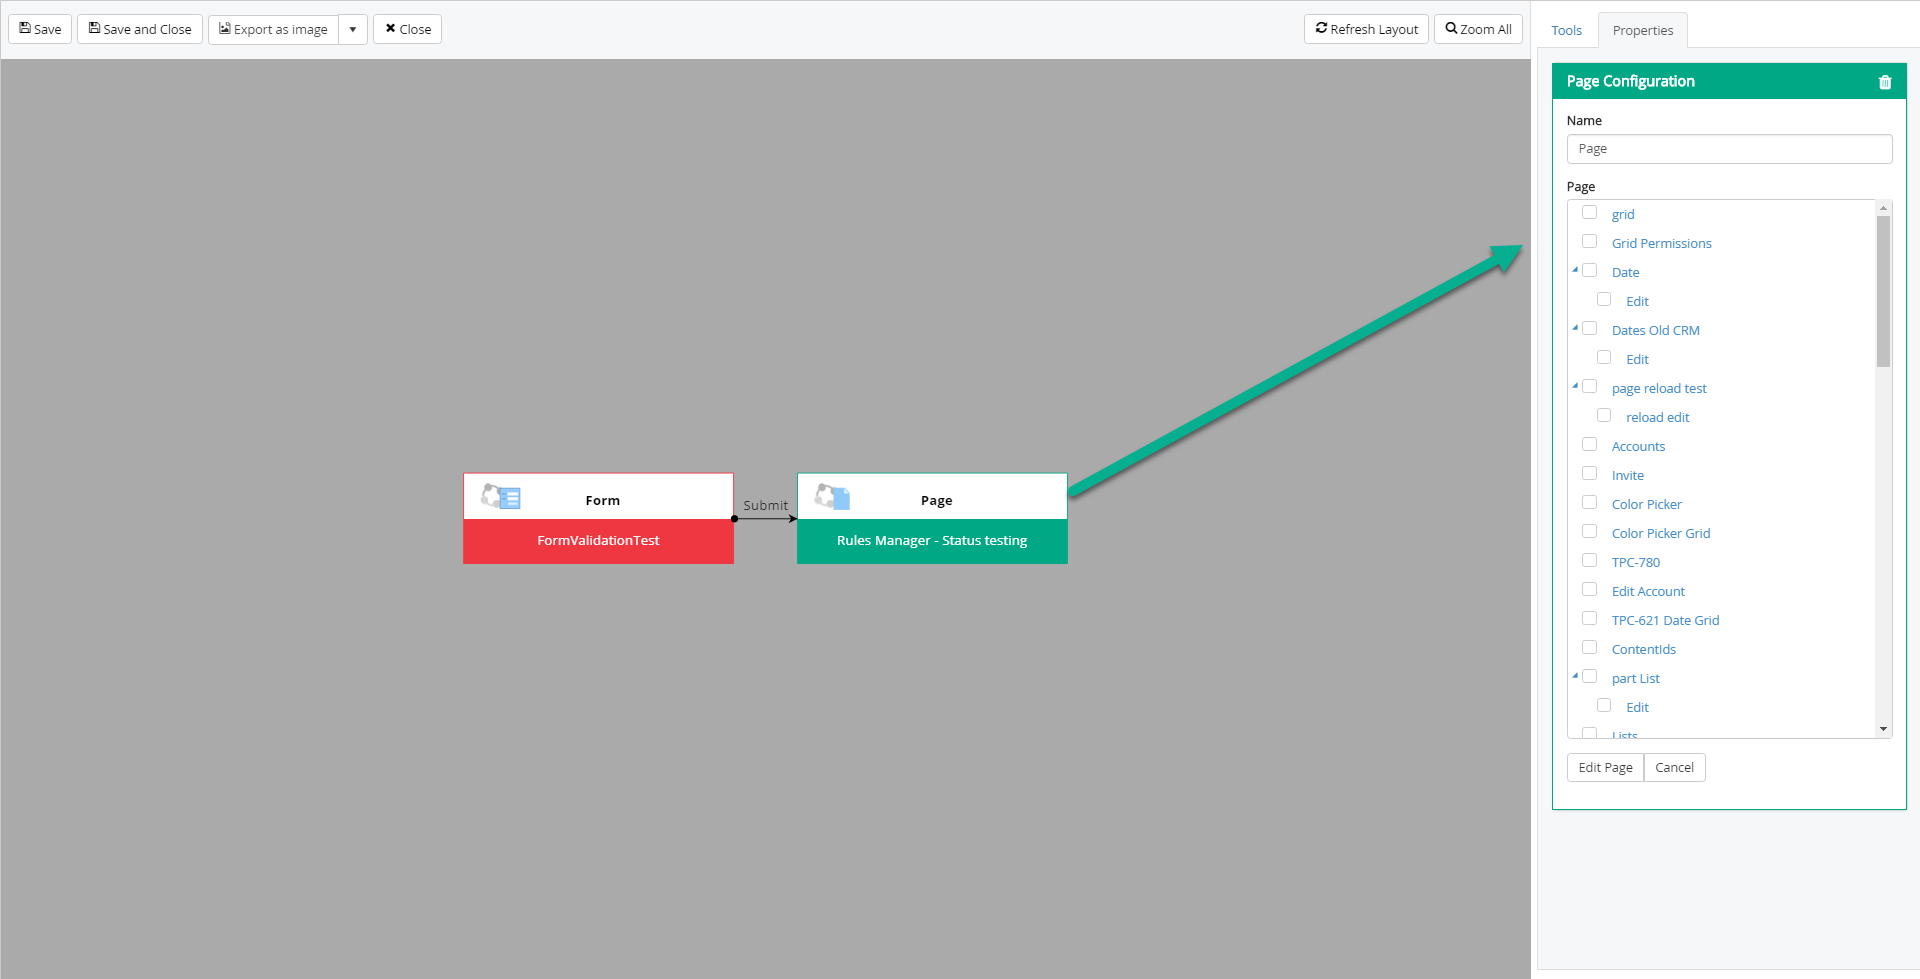
Page nodes are used as end points of a flow. No connections can be made after a page node. All paths must end on a page node, typically a confirmation page.
- Name - A friendly name to display on the node. Defaults to "Page".
- Page - The page to present the user.
- Edit Page - This button will open the selected page in another browser tab for editing.
Rule
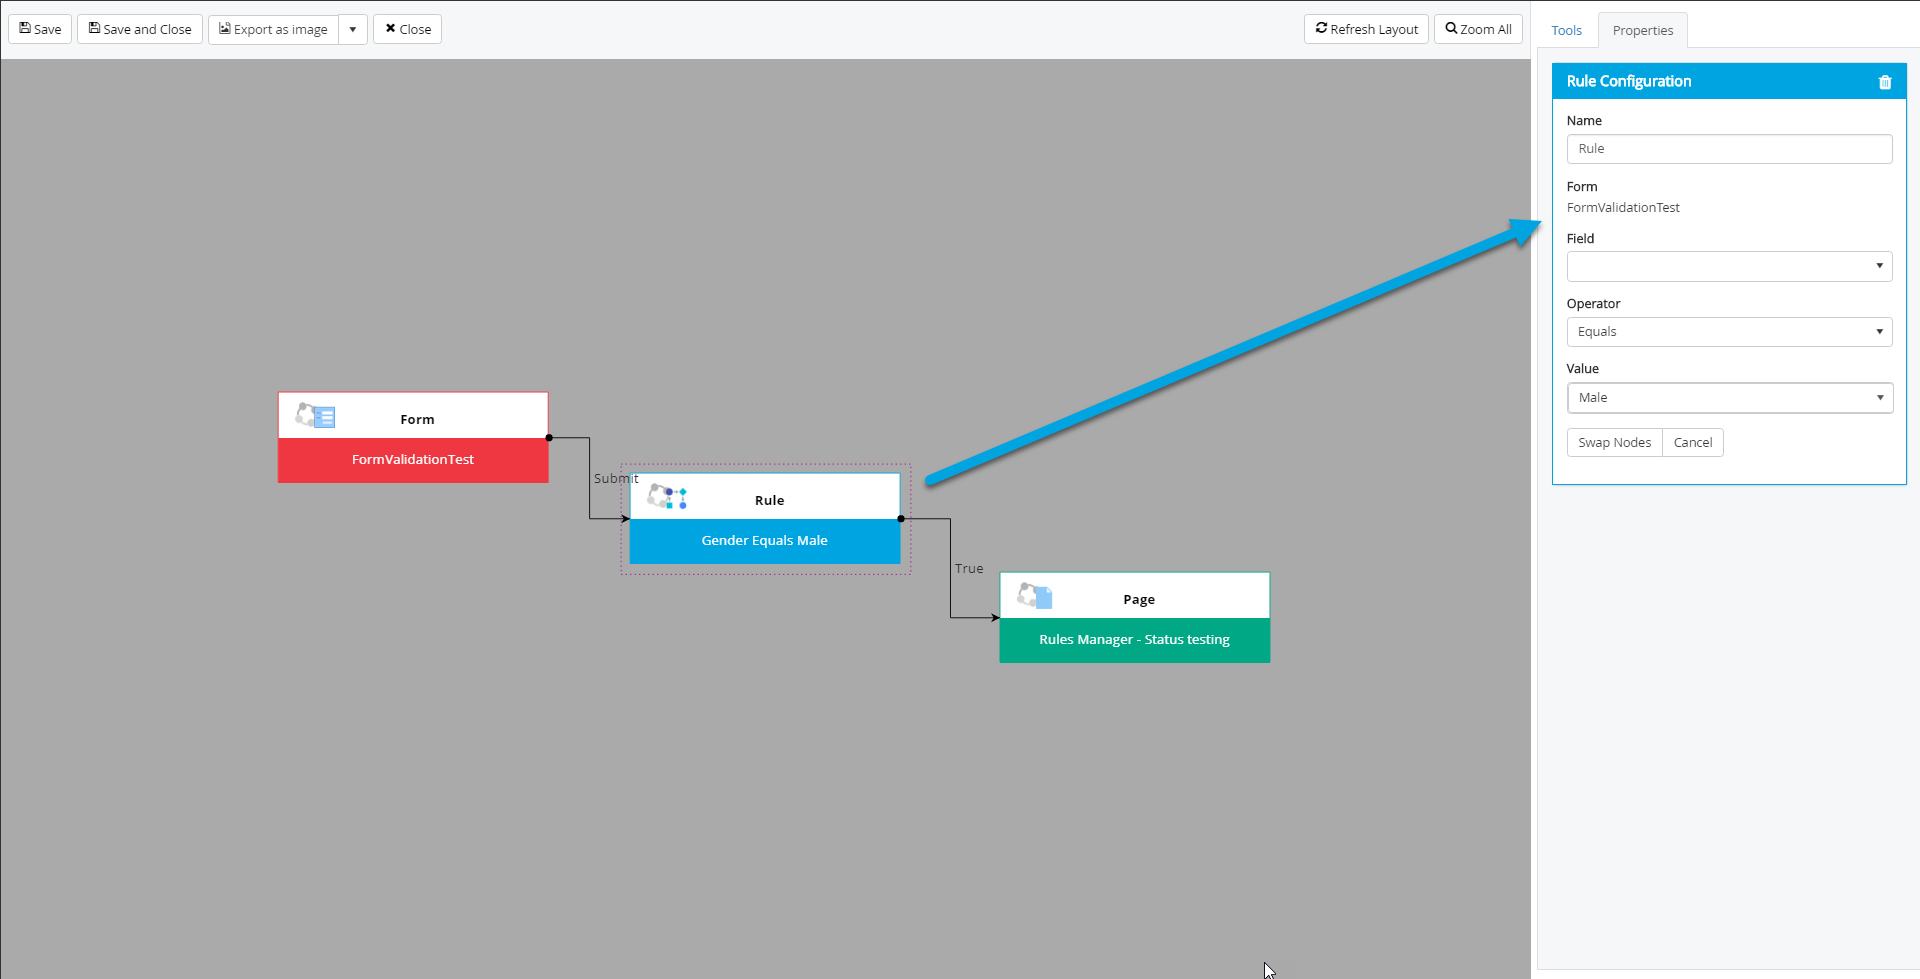
Rule nodes allow you to decide based on submitted values.
- Name- A friendly name to display on the node. Defaults to "Rule".
- Form - Read-only. Displays the name of the closest form up the flow.
- Field - The field on the form to be sued for the rule. This will list all fields available from the closest form up the flow.
- Operator - The logical operator for the rule. Contains operator such as "Equals", "Not Equal To" and "Contains". Actual list depends on the data type of the selected field.
- Value - The value to compare to. Not visible for some operators such as "Contains Data".
- Swap Nodes - Swaps the True and False paths.
Email
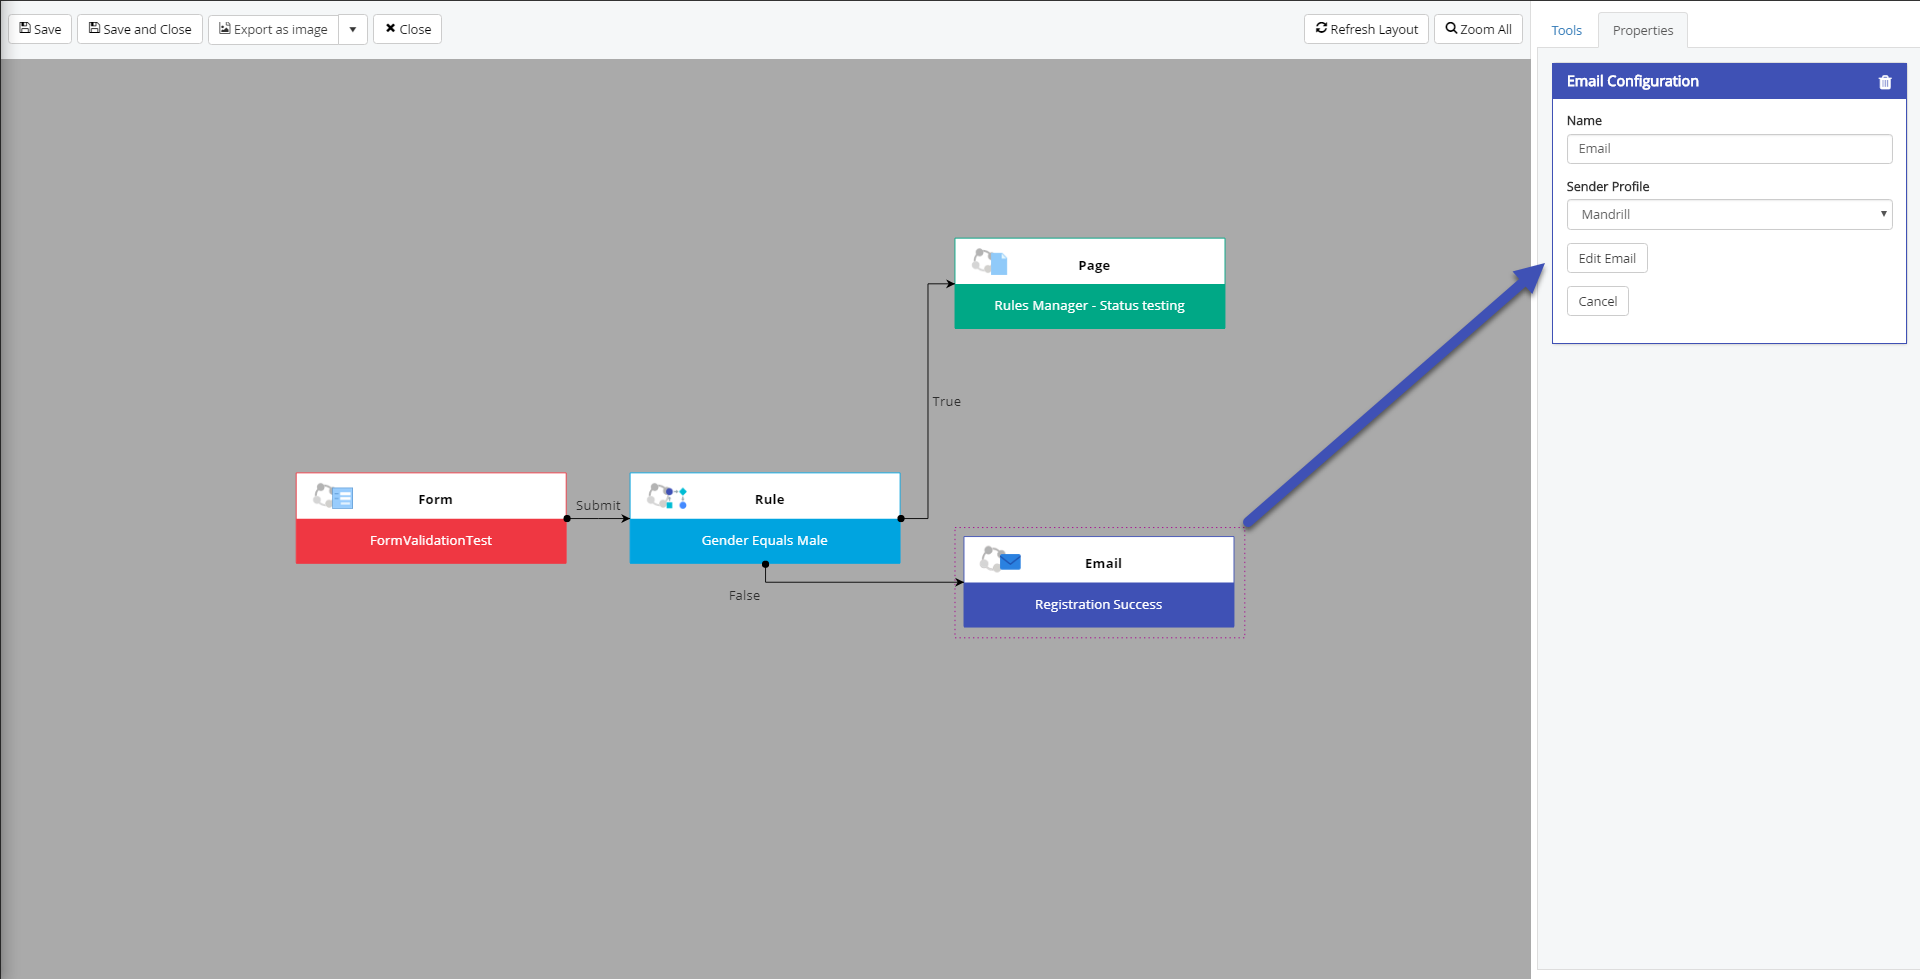
Email nodes allow for emails to be sent based on submitted values.
- Name - A friendly name to display on the node. Defaults to "Email".
- Sender Profile - Lists the sender profiles configured in "Administration > Settings > Advanced > Notifications > Profiles". Email is sent using the selected profile.
- Edit Email - This button opens the Email Editing window.
- To, CC and BCC - Allows fields from the previous form to be selected as the record to send to. If the selected field can be emailed to, it will. Email addresses can also be typed in and added to the list manually.
- Subject - The subject of the email to be sent. Merge codes for fields from the body can be copied into the subject and will be replaced with actual values.
- Body - The email body. The toolbar contains a dropdown of fields that when selected will insert a merge code into the body. Accepts HTML when switched into code mode.
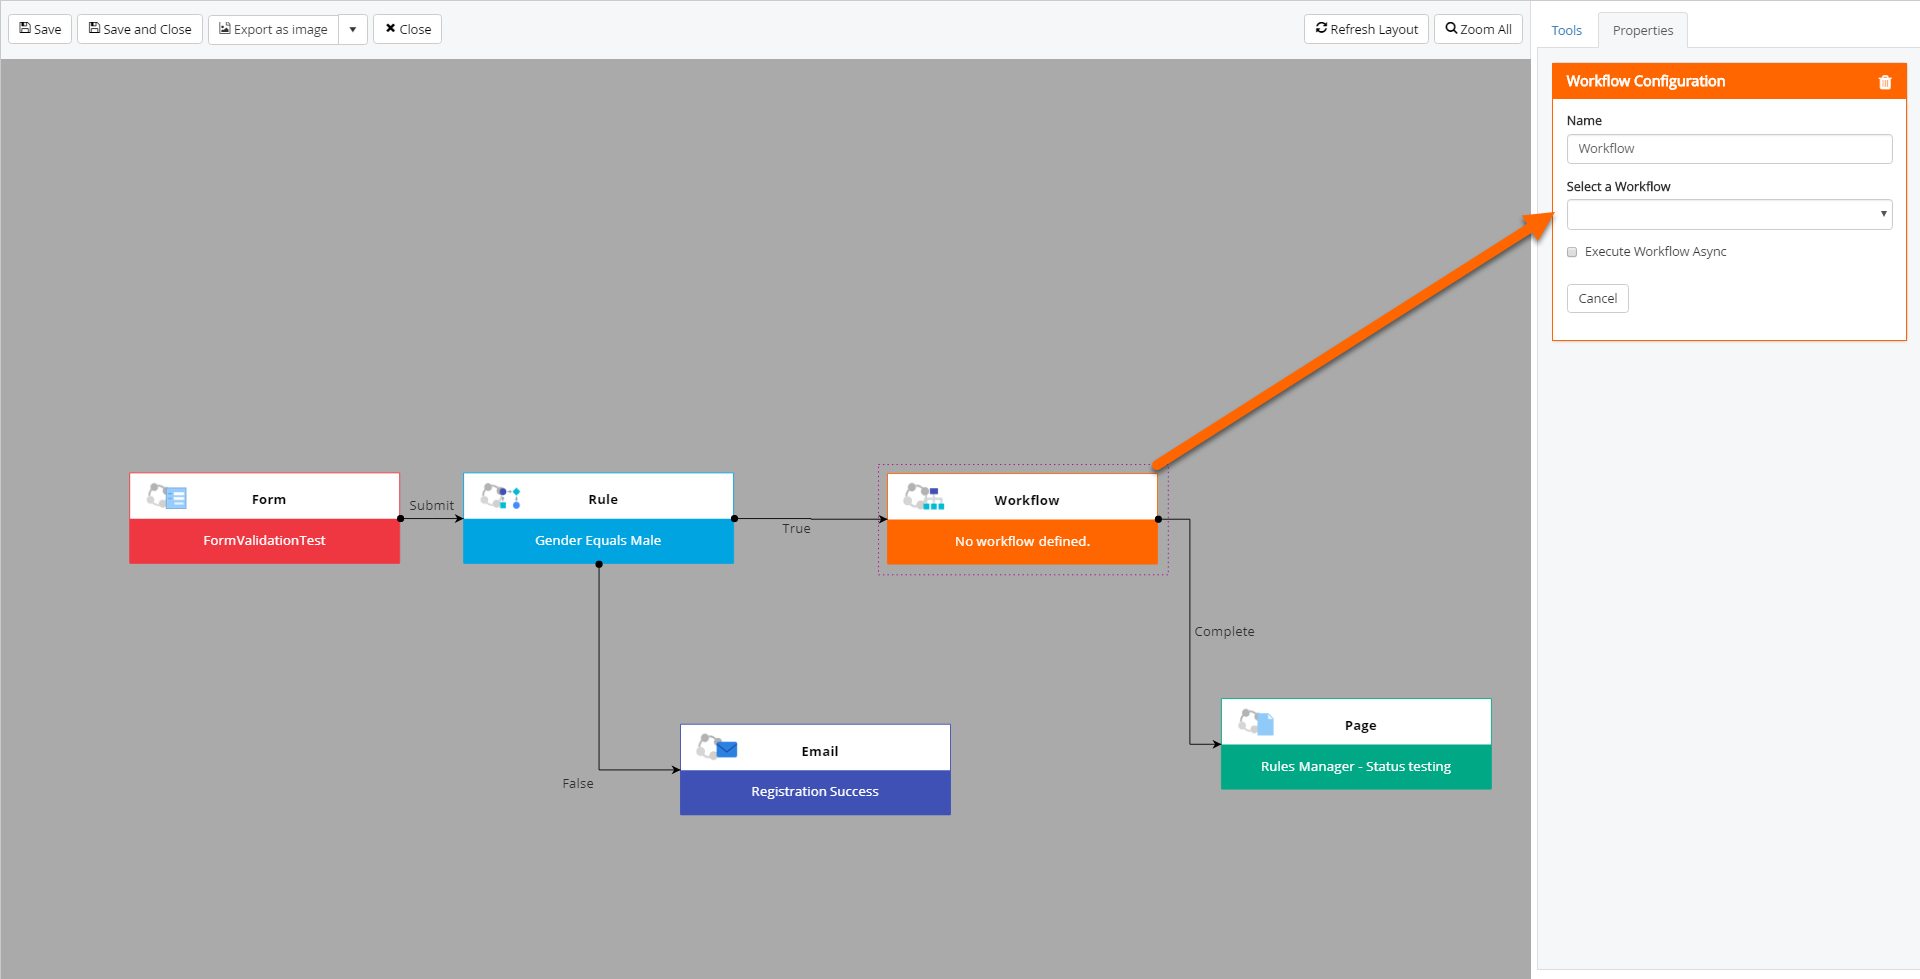
Workflow
Workflow nodes allow for workflows to be executed with the id of the created\updated entity from the previous form.
- Name - A friendly name to display on the node. Defaults to "Workflow".
- Workflow - Lists the available workflows. Workflows are filtered to the ones valid for the entity configured in the previous form.
- Execute Workflow Async - Specified whether the workflow will execute synchronously where the user must wait for completion or asynchronously as a scheduled task.
