Performing your first Migration with The Portal Connector
Migrations are a useful tool that enable users to migrate data between two separate Sitefinity instances. This article will show you how to set up the Migrations module on your site and perform your first migration.
Setting up Migrations
Requirements
The only requirements to begin migrations between two sites are:
- A valid Portal Connector standard edition license
- Two Sitefinity instances that share the exact same Sitefinity version and Portal Connector version
Terms
We need to define a few terms that we will use throughout this article:
- Your source site is the site you intend on migrating data from.
- Your destination site is the site you intend on migrating data to.
Setup
In order to begin Migrations between sites you’ll need to install the Portal Connector Migrations module. To do that:
- Navigate to the Sitefinity backend of your source site as an Administrator
- Under the Administration menu, select Modules & Services
- Find The Portal Connector (Migrations) module, select Actions and then Install

Now that the Migrations module is installed on the source site, repeat the same steps above on the destination site to ensure that the module is installed on both ends.
To connect the two sites, we’re going to need to first need to set up the destination site:
- Navigate to the Sitefinity backend of the destination site.
- Under the Administration menu, select Users
- Create a new Administrator user that will act as the service user for all migrations on this site.
- Under the Administration menu select Migrations near the bottom under Tools
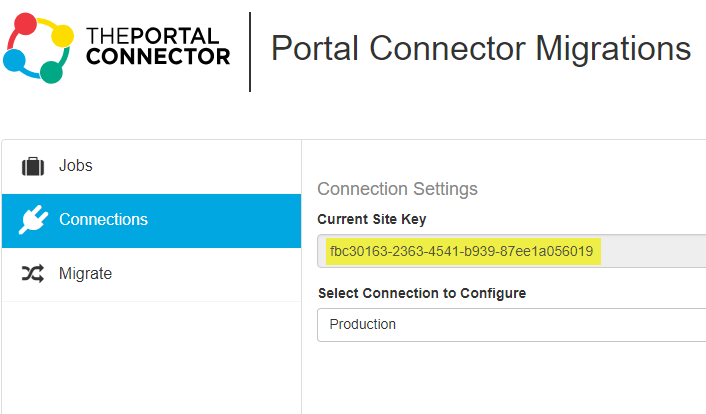
- Select the Connections tab and copy your Site Key to use when configuring the source site

The next thing we’ll need to do is connect the source site to the destination site, this will enable us to begin migrating data:
- Navigate to the Sitefinity backend of your source site as an Administrator
- Under the Administration menu select Migrations near the bottom under Tools
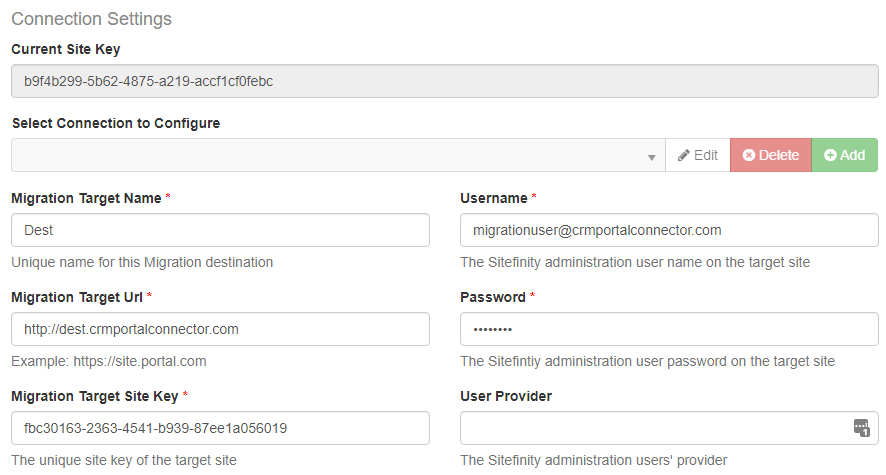
- Select the Connections tab and press Add
- Enter in all of the details of your destination server, be sure to copy the site key exactly and use the service account you created in the previous steps for the administration username and password.

- Press “Add new connection” to confirm adding this new connection.
- Navigate to the Migrate tab, select your new connection on the bottom, and press Test
- Once you have successfully connected, you’re ready to Migrate!
To migrate data between sites, you simply select the pages you wish to Migrate, select the migration options and select “Migrate to Dest”
Watch a Video on The Portal Connector's Migration Module
FAQ
- Why don’t my imported pages have my custom permissions?
When migrating without Permissions and Users/Roles exporting, secured pages that use these custom roles or permissions will be defaulted to the Administrator permission. Make sure to check off these boxes if you are exporting pages that have permissions bound to custom roles or users.
- I selected “Export Users and Roles” but none of my users were exported and only some of my roles, why is that?
Exporting “Users and Roles” only exports users and roles that are used by custom permissions assigned to pages, forms, widgets or templates. This option will not export all users and roles to the destination site.
- I chose to export a single page and a lot more content other than my page was exported, why?
When exporting pages all required content to get the page to be functional from scratch is also exported. This includes exporting pages or forms that are linked to widgets, and also exported pages or forms that are linked to the pages that the original widgets point to. In certain cases large groups of pages, templates and forms will be exported depending on the dependency hierarchy of your site.