The Kendo UI List View is an impressive and versatile widget that enables you to specify a custom type of layout for the items that are displayed in the control.
The Portal Connector List View widget allows you to retrieve your Dynamics CRM data and display it on a page using your own custom HTML markups.
Let's see how the List view widget works by building some simple examples.
Example 1: Standard Type
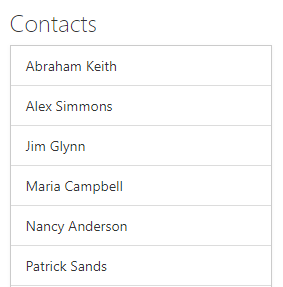
One of the most standard list view examples is an unordered list with list items.

To configure this view, click 'Edit' on the list view widget and under the 'Data' tab select the Dynamics CRM entity and then click on 'Load Default Fetch'.
Now under the 'Basic' tab click on 'Templates'. The default template is configured to display Dynamics CRM contact "full name" by default.
<li class="list-group-item alt clearfix">

        #:fullname#

        <div class="pull-right">

         @if (Model.AllowEditingRecords)

         {

         <button class='btn btn-xs btn-success k-button-icontext k-tpcedit'><span class='fa-pencil-square-o fa'></span> @Html.Resource("Edit")</button>

          }

         @if (Model.AllowDeletingRecords)

         {

        <button class='btn btn-xs btn-danger k-delete-button'><span class='fa-minus-circle fa'></span> @Html.Resource("Delete")</button>

        }

        </div>

    </li>
You can replace the "fullname" with any other attribute names from the fetch xml loaded for the entity in the 'Data' tab that you want to display in the list view.
Example 2: List view with Dynamics CRM Images

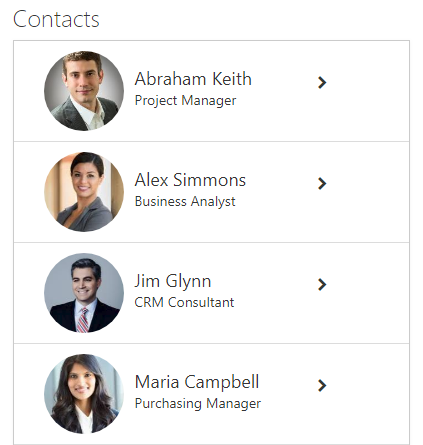
We can customize the template to display the image attribute for any Dynamics CRM entity. Using bootstrap, we will align the content display in different columns.
To display the Dynamics CRM image attribute, you can encode the image file as base64 and then embed that base64-encoded image in the image tag.
<div class="col-xs-2">

 <img alt="news-image" height="80px" width="80px" src="data:image/png;base64,#= btoa(String.fromCharCode.apply(null, new Uint8Array(typeof entityimage === 'string' ? entityimage.split(',') : entityimage))) #"></img>

</div>

<div class="col-xs-5">

 <div>#:fullname#</div>

 <div> #:jobtitle#</div>

</div>

<div class="col-xs-2"><i class="fa fa-chevron-right" aria-hidden="true"></i></div>
Example 3: Using Bootstrap: Panel component

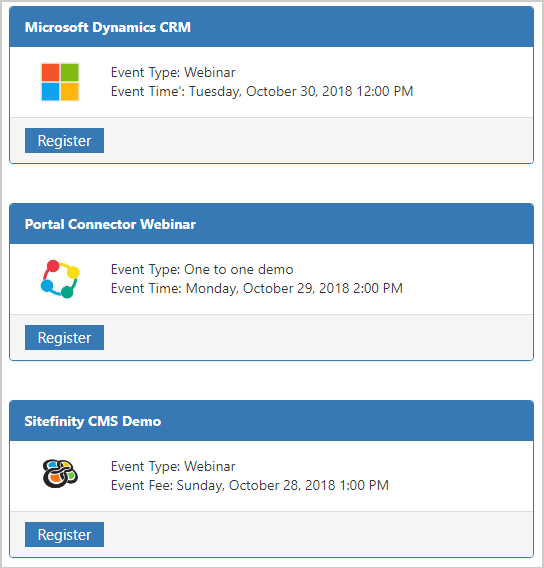
For this example, we will use the bootstrap panel component. The bootstrap classes used are:
.panel: Apply some basic border and padding to contain some content.
.panel-heading: Adds a heading container to your panel.
.panel-body: Panel content.
.panel-footer: To wrap buttons or secondary text in the footer.
 <div class="panel panel-primary">

<div class="panel-heading"><div><strong>#:new_event#</strong></div></div>

<div class="panel-body">

<div class="col-xs-1">

<img alt="news-image" height="40px" width="40px" src="data:image/png;base64,#= btoa(String.fromCharCode.apply(null, new Uint8Array(typeof entityimage === 'string' ? entityimage.split(',') : entityimage))) #"></img>

</div>

<div class="col-xs-9">

<div><span>Event Type:</span> #:new_eventtype#</div>

<div><span>Event Time:</span> #= kendo.toString(kendo.parseDate(new_startdatetime, 'dddd, MMMM dd, yyyy h:mm tt'), 'dddd, MMMM dd, yyyy h:mm tt') #</div>

</div>

</div>

<div class="panel-footer"><button type="button" class="btn btn-primary">Register</button></div>

</div>
The List View is a robust and helpful element and with bootstrap, it's possible for you to configure unordered list which is more structured, interactive and responsive.
If you have any queries regarding the List View widget, you can contact us at support@crmportalconnector.com.