What's the purpose of CacheInvalidation Plugin?
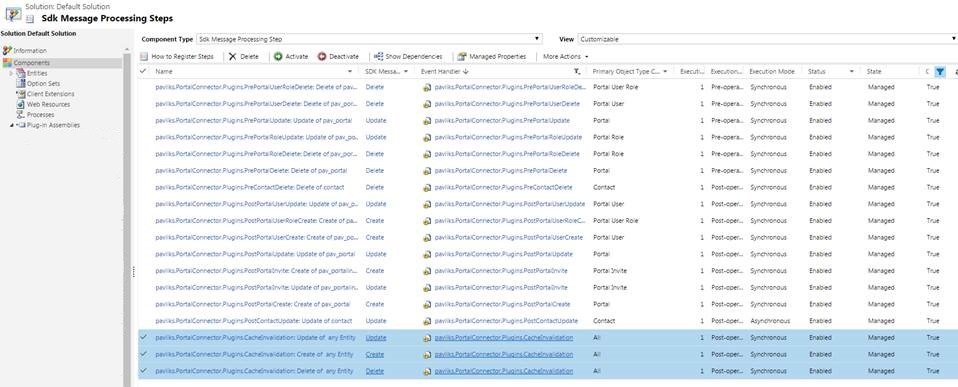
The CacheInvalidation Plugin we register in your CRM system is used to invalidate the page cache within your Portal Connector portal site.
When the plugin fires for a specific entity it asynchronously sends a notification to your portal site to invalidate only the pages that use the entity that originated the invalidation call. For example, if you modify a contact within CRM the plugin will send a request to the portal to invalidate all and only the pages that use data from the contact entity.
By default, the plugin is registered on every entity within CRM however no code is executed within the plugin unless you enable Cache Invalidation on your portal record listed within CRM.

Concerned about your CRM system running too slow? It's not likely that this plugin will affect your performance. The code in this plugin essentially just checks if the cache invalidation is enabled for the portal and if it is, it will execute an asynchronous, fire and forget, call to the registered portal. With the call being asynchronous, the code doesn't wait for the site to connect or respond to the request not slowing down your CRM system.
Of course, code is still executing in your CRM pipeline so if performance is still a concern and you are not using every entity in your portal, you might want to disable this plugin for specific entities to streamline performance. If these steps are taken, that means changes that are done in the CRM will take longer than usual to appear in your portal unless the cache is forcefully refreshed.
Let's assume that you are not displaying all of your CRM entities on your portal and therefore don't need the plugin to run on every entity. Here are the steps you would need to take in order to make the plugin run only on the entity of your choice. Before you begin, please ensure you create a backup of your CRM and have familiarized yourself with the Plugin Registration tool that is included in CRM's SDK.
- Find the "PluginRegistration.exe" file, usually located in 'folder of your sdk'\Tools\PluginRegistration
-
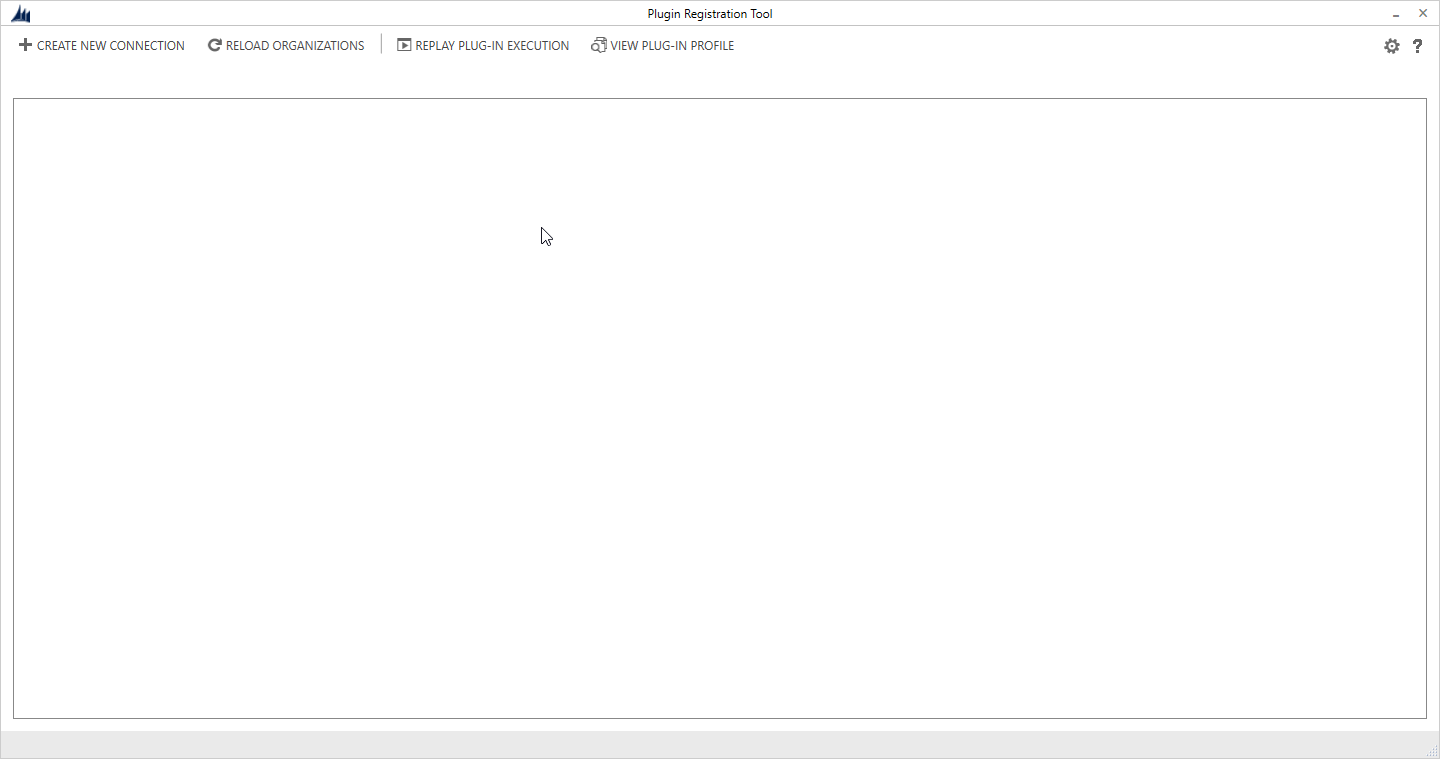
When you click on 'Run the Application', you will get the following:

- Click 'Create New Connection' and fill out the text boxes to connect to your CRM (the user you are using will need admin privileges).
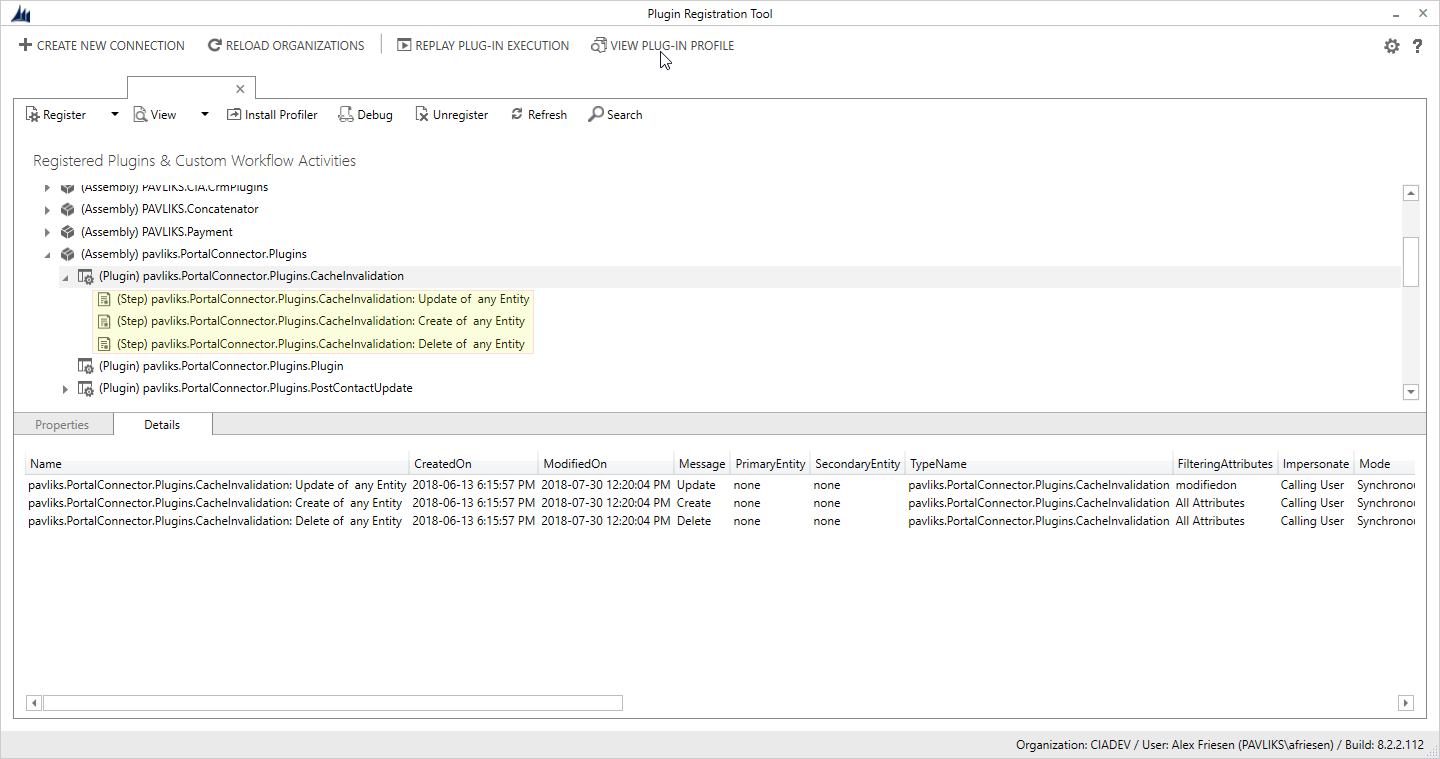
- Once you connect, find the 'pavliks.portalConnector.Plugins'. You want to right click and Unregister or Disable the steps you don't want to use anymore.

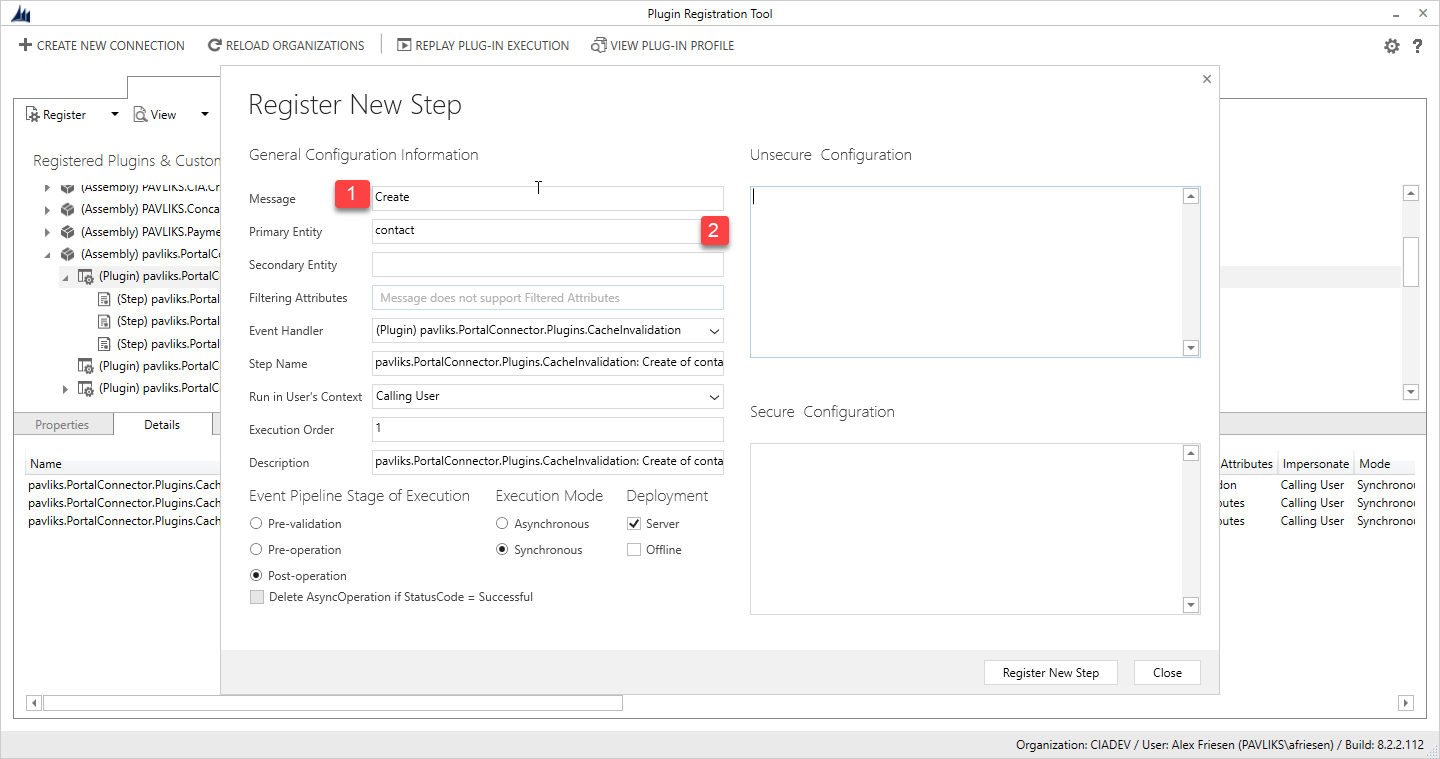
- Right click on 'pavliks.PortalConnector.Plugins.CacheInvalidation' and 'Register New Step'

- (1) Type in when the plugin runs your possible choices are: Create, Update, Delete. If you want the entity to be updated when you do any of the three, you will have to create a separate step for each of them.
- (2) This is where you mention what entity you want to update on the portal side as soon as a change is done on the CRM side. You can only type in one entity for each step.
This means every entity will need their own step for each message. There will be a lot of steps, however these can always be disabled and new steps can always be created later if you want.
Now you know how to make sure that your portal will only receive the updates from CRM for the entity and operation that you choose. Customize the plugin to your desire and remember to always create a backup of your database, even if you are considered an expert. Mistakes happen.