Custom Themes for The Portal Connector MVC Grid widgets
MVC Grid Widget
The Portal Connector MVC Grid widget is based on Kendo UI framework. It is a powerful widget for presenting data in a tabular format.
The appearance of the Grid widget can be completely customized. It provides a variety of options for how to present the data on the grid. You can apply Less-Based themes or build your own customized themes. The default theme applied on the Grid widget is “Bootstrap”, shown as below:
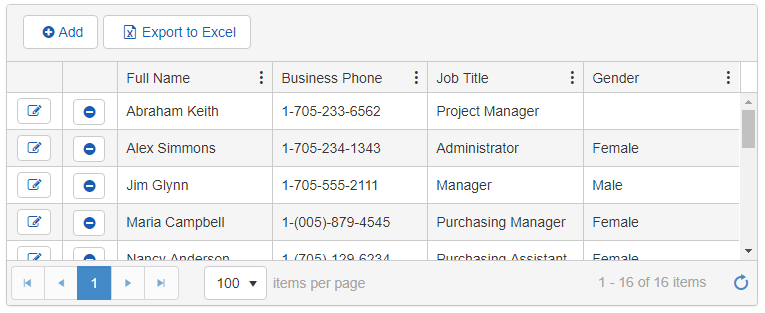
Default Kendo Theme: Bootstrap
Less-Based Themes for the MVC Grid Widget
To apply an available out-of-the-box theme to the MVC Grid widget, follow the steps below:
- Navigate to the backend of Sitefinity > Create a page > Drag & drop the Grid widget.

- Now click Edit on the widget to open the properties prompt.
- Click on Advance button > Model and look for the Kendo Theme field as shown below:
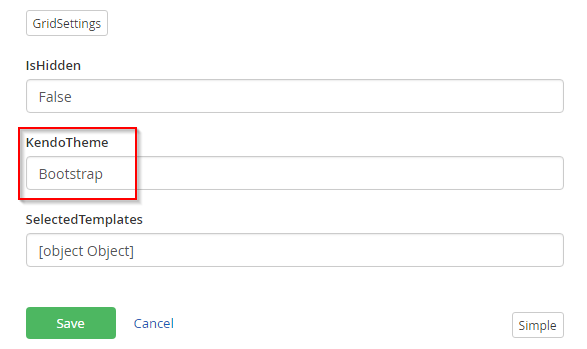
Here you can define the theme that you want to apply on the grid.
Following are the Less Themes that can be applied:

For example, if you want to apply “Material” theme on the grid, simply update the Kendo Theme field to “Material” instead of “Bootstrap” and click Save and Publish the page. The grid will appear as follows on the web page:
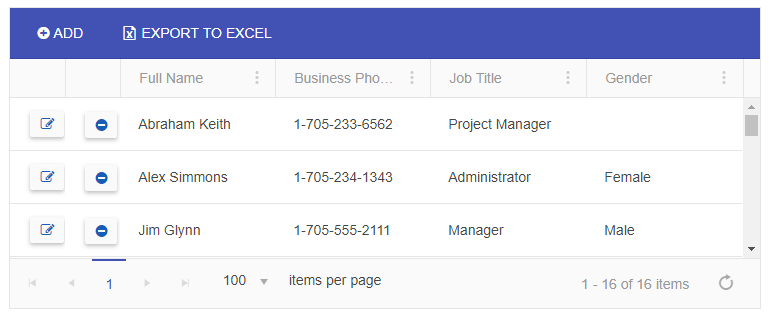
Kendo Theme display: Material
To preview the display for other themes, click here.
Customized Theme
You can also customize these themes or build your own themes using the Progress Kendo UI Theme Builder. To customize any of the available themes,
click here.
- Select the theme you want to customize. Refer to the screenshot below:
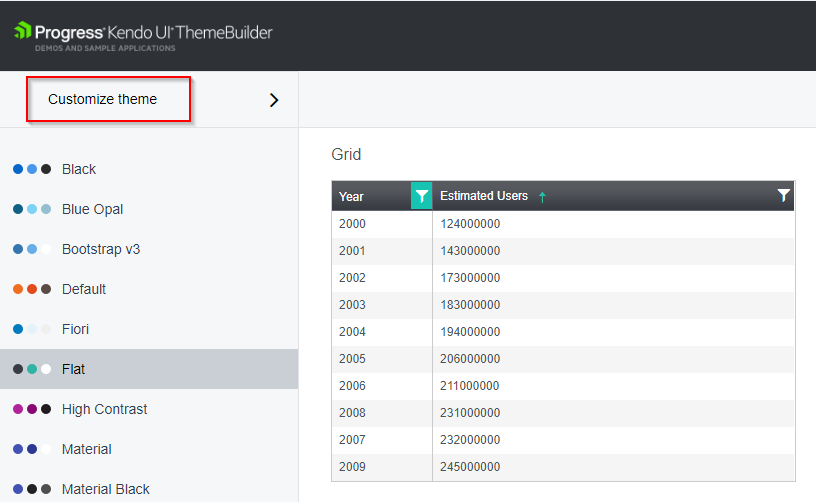
- Click on the theme and modify the styling properties to be applied on the widget.
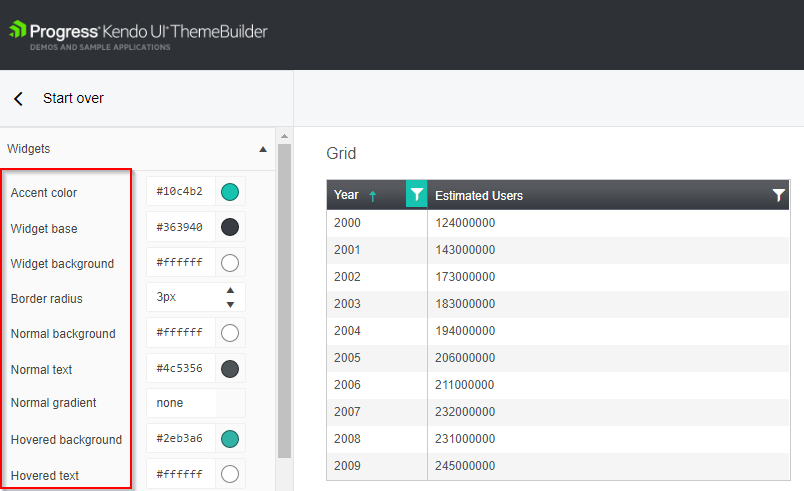
- Once you have customized the layout of the grid as per your requirement, the next step is click on “Download theme”.
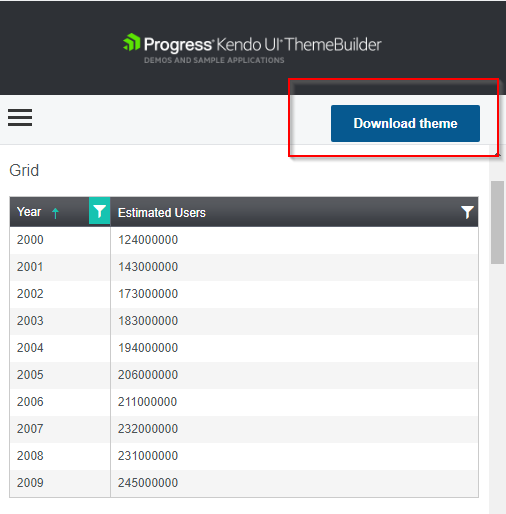
- On downloading the theme, a zip folder is downloaded named as “Kendo.custom.zip”. The zip folder has the following files:
- kendo.custom.css
- kendo.custom.dataviz.json
- kendo.custom.less
- To apply this theme on the grid widget in The Portal Connector, follow the steps below:
- In your Sitefinity Project file system:
Navigate to Resource Package > Bootstrap > assets > dist > css > place the css file from the downloaded theme folder i.e “kendo.custom.css”
- Now in Sitefinity backend > Open the page where you have placed the grid widget.
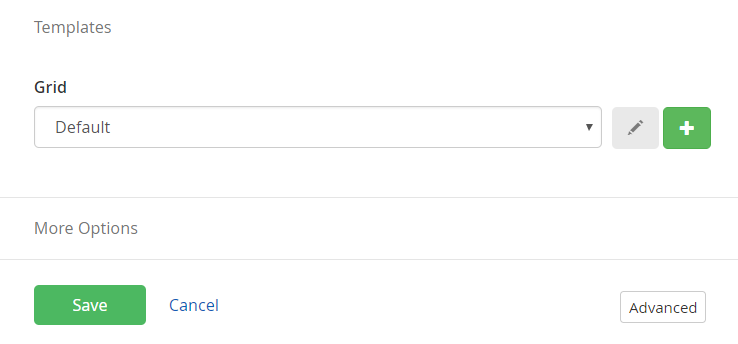
- Click Edit on the grid widget and click on ‘Templates’.
- Click on ‘+’ button to edit the Default template. In the template, make the following changes:
- Under “Model.EnableKendoThemes” remove the following reference links to the stylesheet:

- Add the reference link to the downloaded theme stylesheet as below: @Html.StyleSheet(Url.Content("~/ResourcePackages/Bootstrap/assets/dist/css/kendo.custom.css"), "head")
After updating the code should appear as below:
- Now save the updated template with a unique name and click Save on the grid widget and publish the page. The grid will display the updated Kendo Theme.
If you have any comments, questions or concerns, please feel free to reach out to The Portal Connector team at support@crmportalconnector.com